10 ways to fill a blank wall
If you have an empty wall and you’re not sure what to do with it, there are lots of options depending on your taste, wall size, and furniture requirements.
Here are 10 ways to fill a blank wall - hopefully you’ll find one that works with your space.
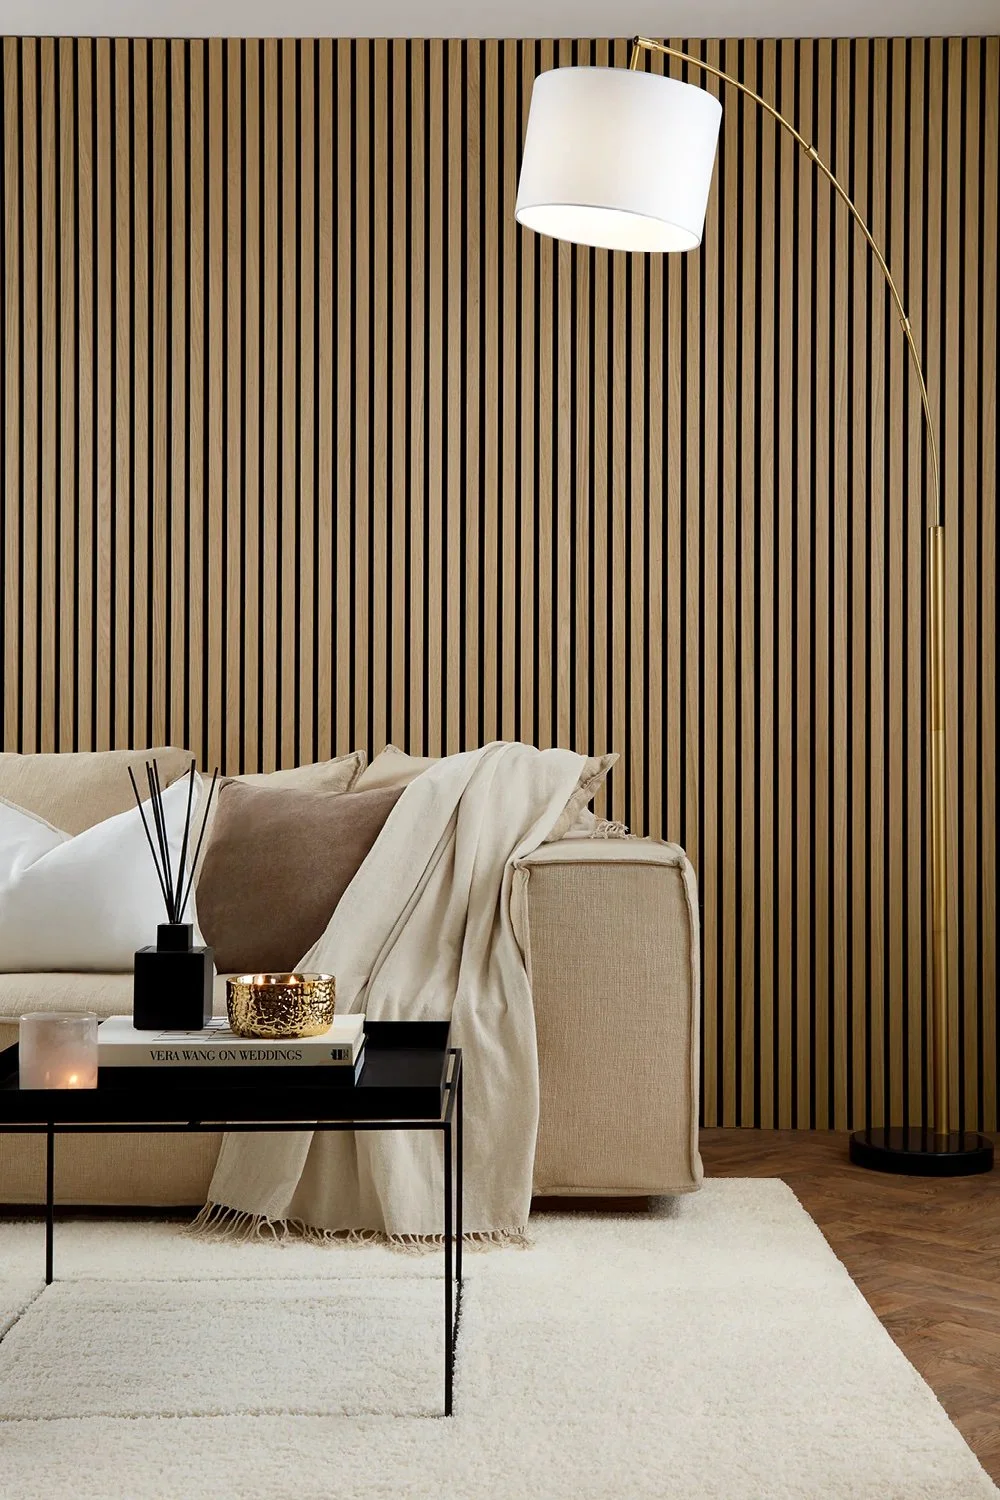
1. Install panelling
Source: Naturewall
Panelling is a popular way to add some interest to an otherwise plain wall. Since it’s so popular there are lots of solutions for achieving this look on a budget or by DIY - look for panelling kits on Etsy or from B&Q, or wood panel retailers like Woodup or Naturewall.
Pay attention to the style of your house - if everything you own is quite modern and you’re in a new build, then traditional style moulding or panelling might not fit right in your home. Likewise if you have a classic and traditional interior, then slat panels might not be the one - unless you team it with other contemporary pieces.
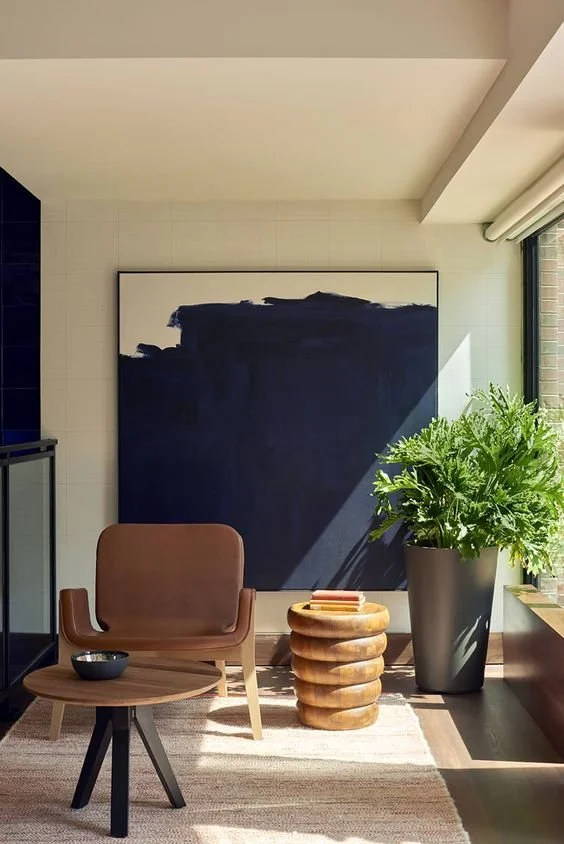
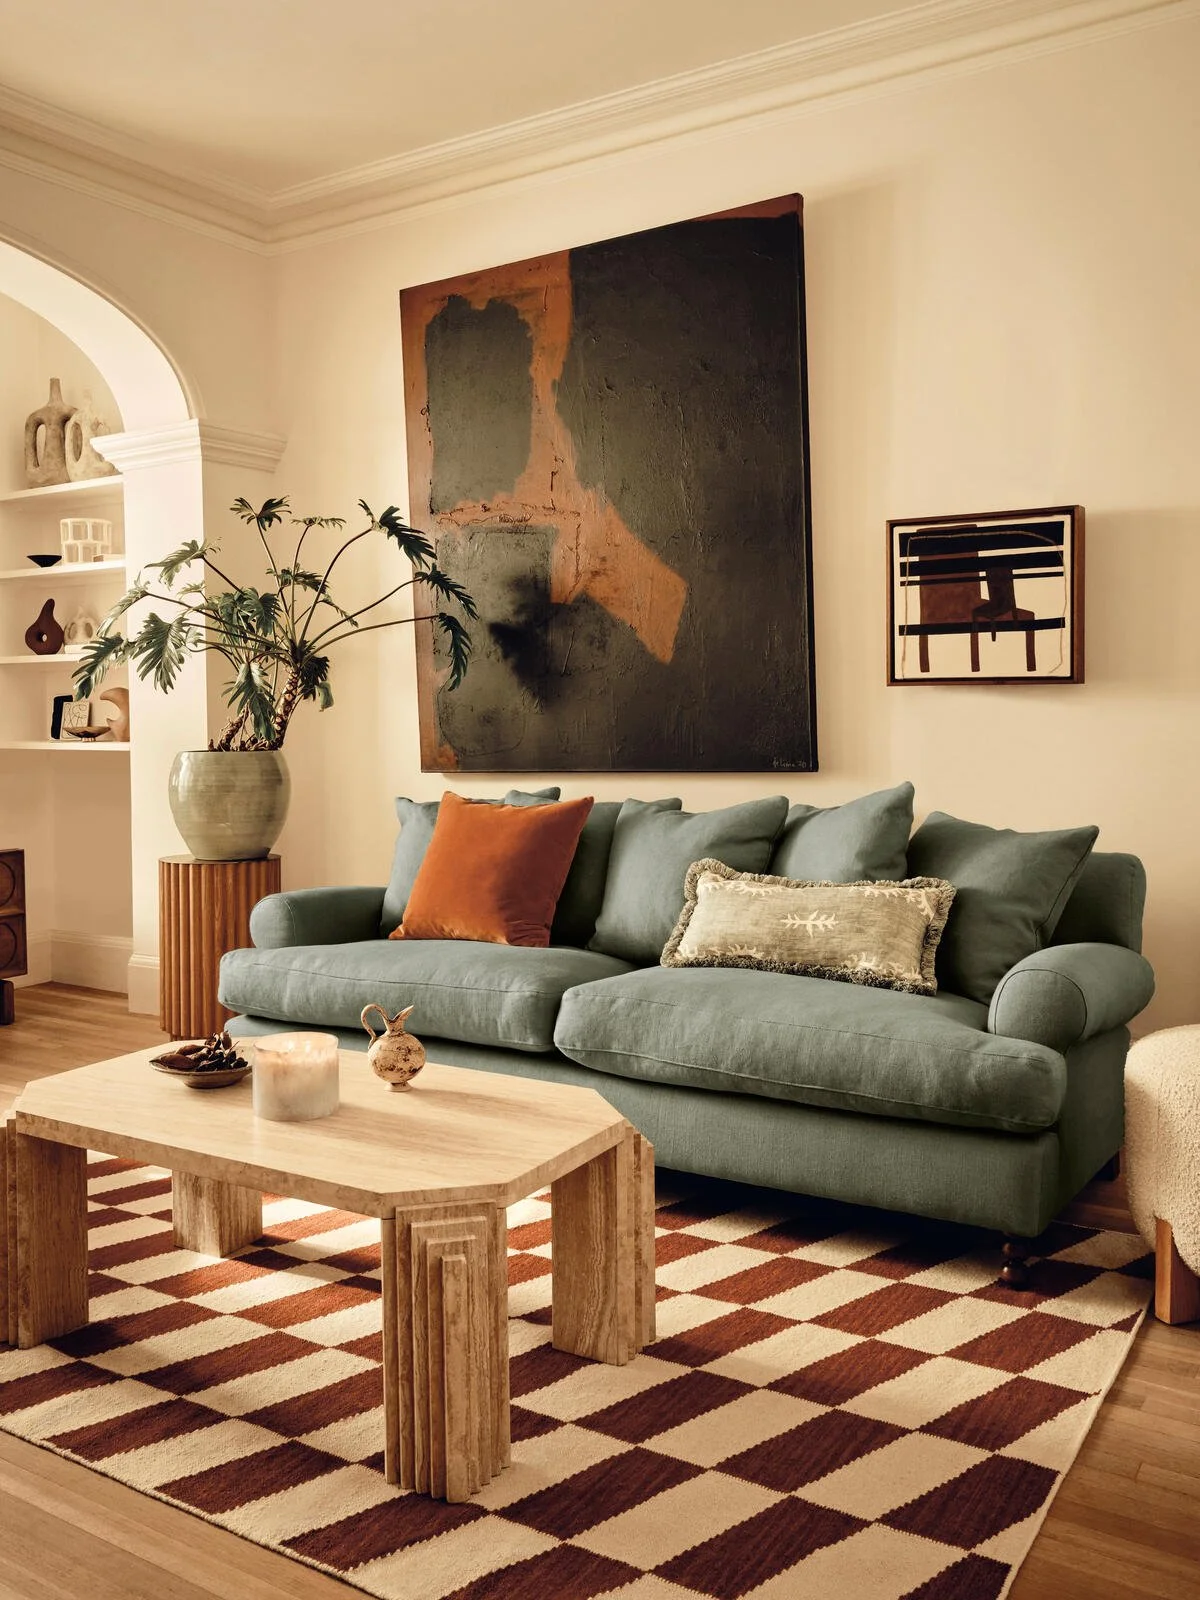
2. Hang giant art
Giant art which is about 3/4 the size of the space that it needs to fill is a great option, especially for bringing some personality or colour into a space.
Something to consider is that large art tends to be very pricey. If you’re at all creative and a fan of the abstract style, you can buy a large canvas from Hobbycraft or Amazon and paint it yourself for a cheaper alternative.
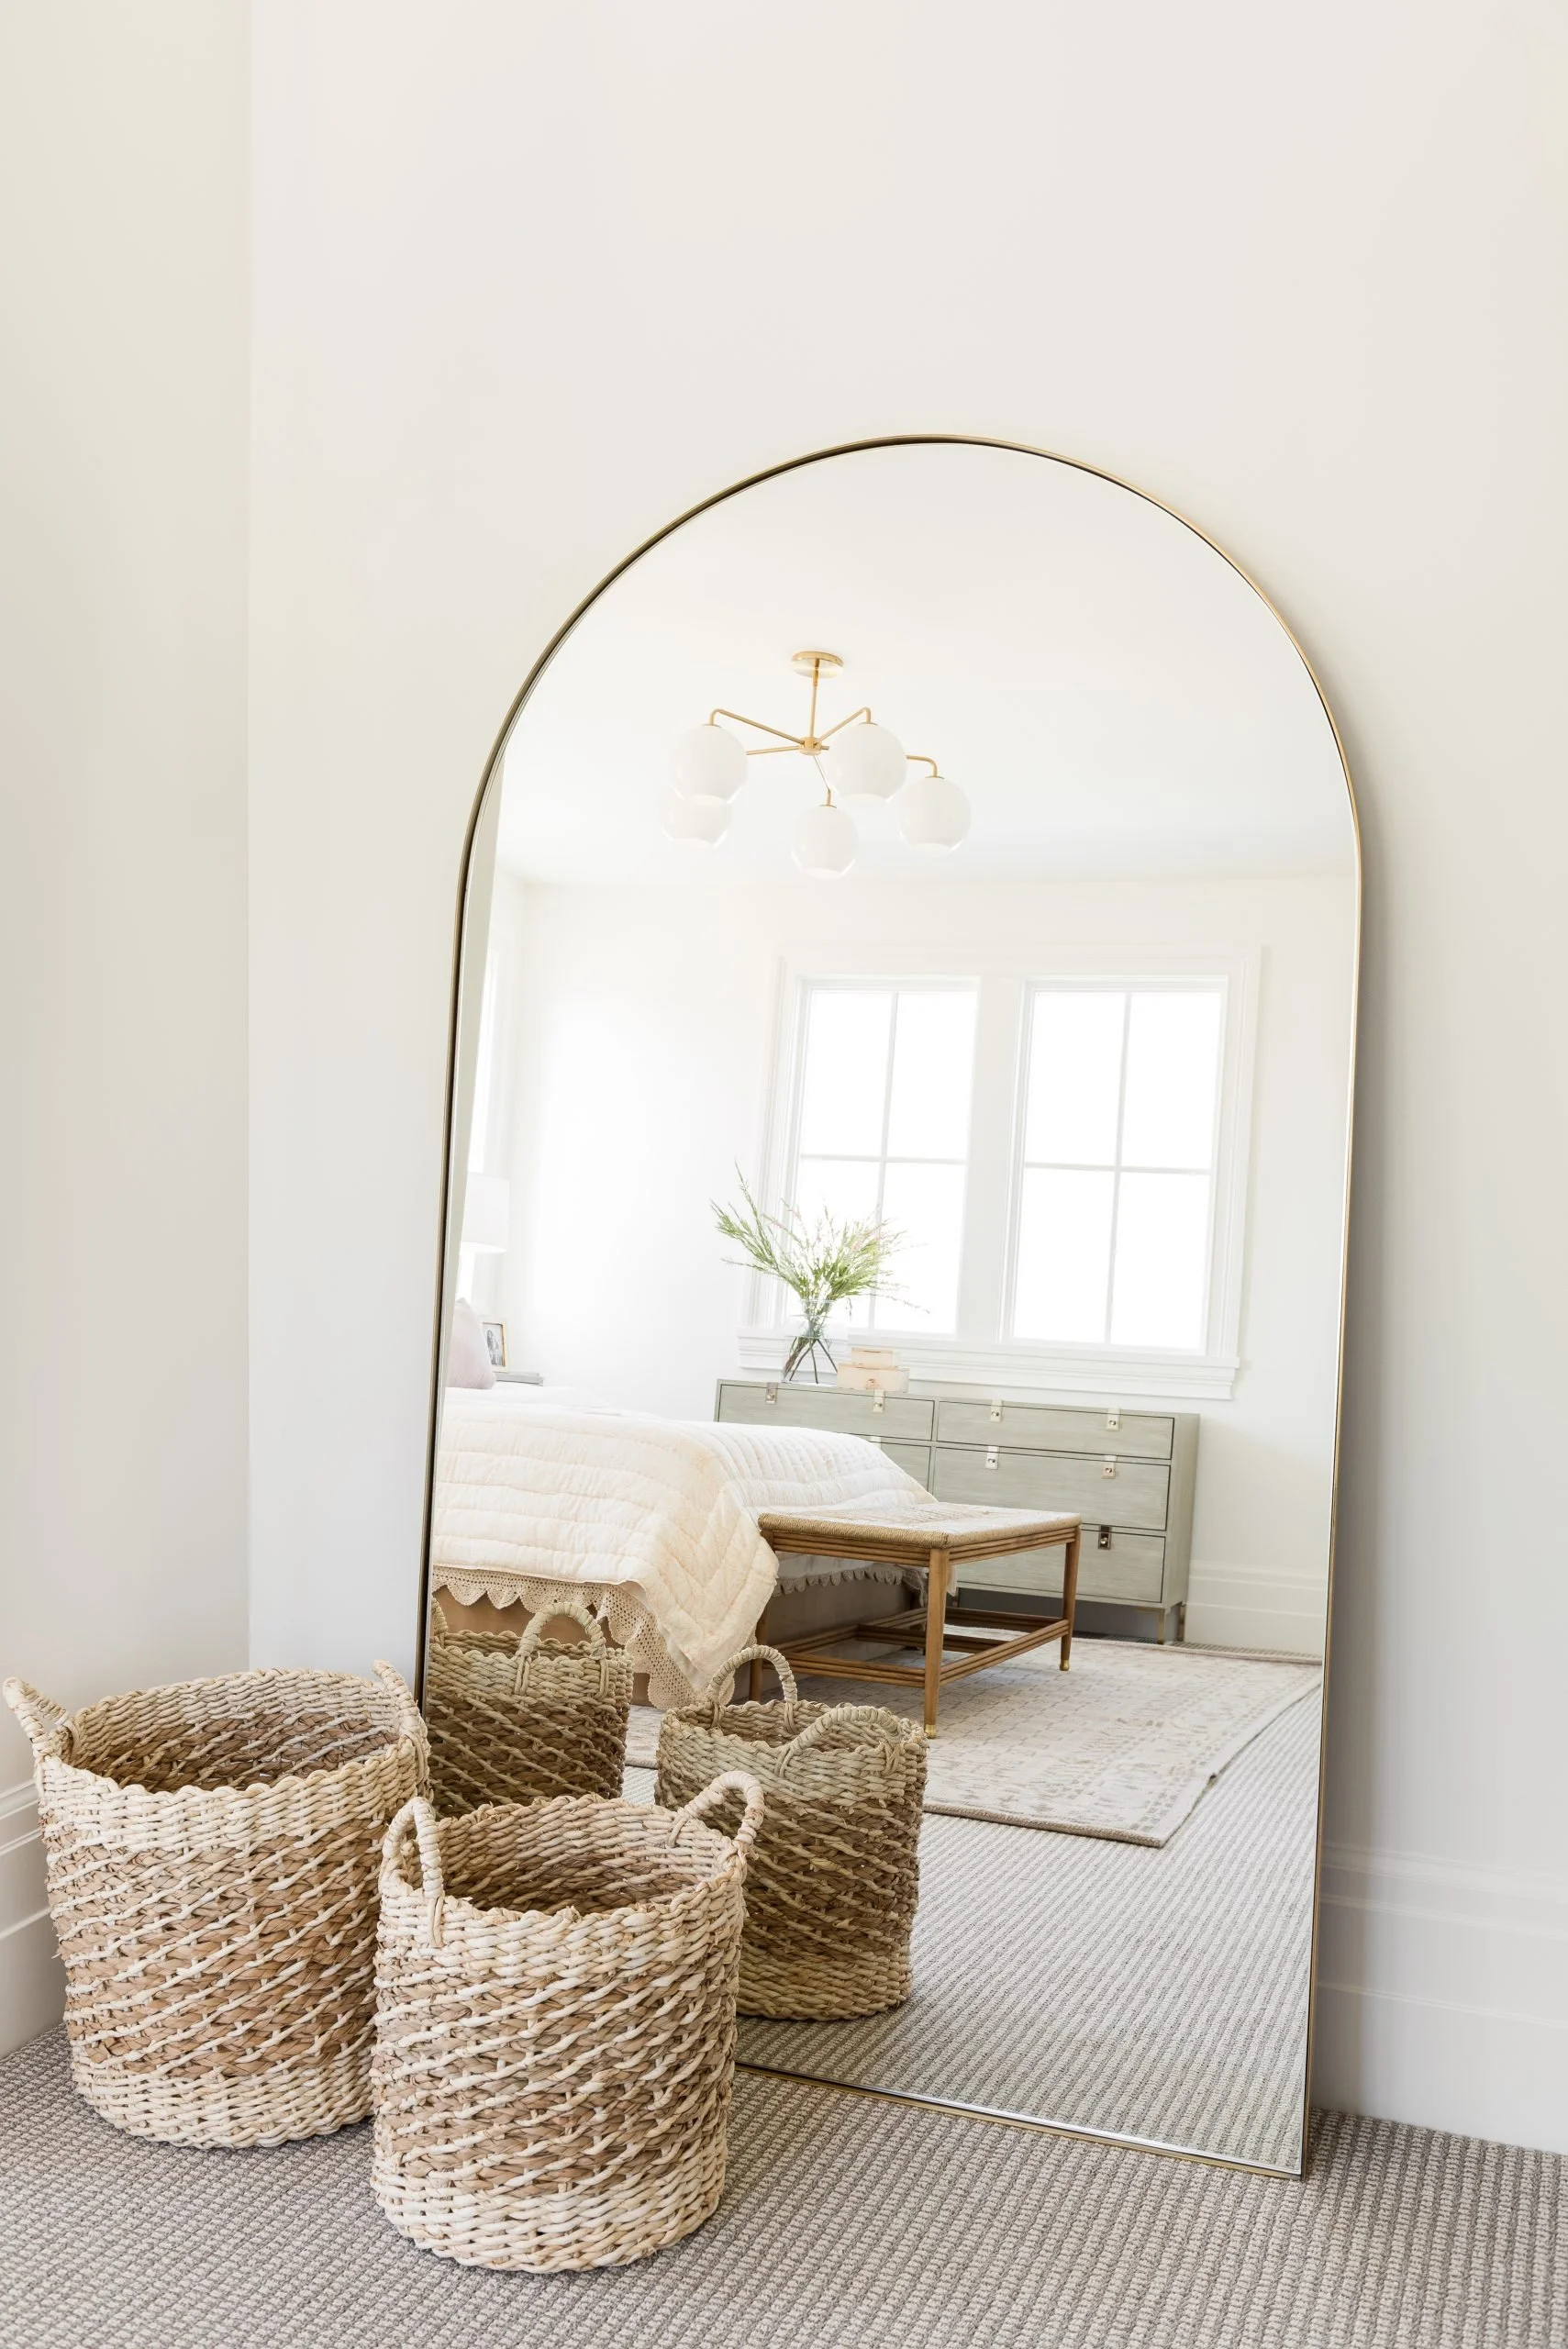
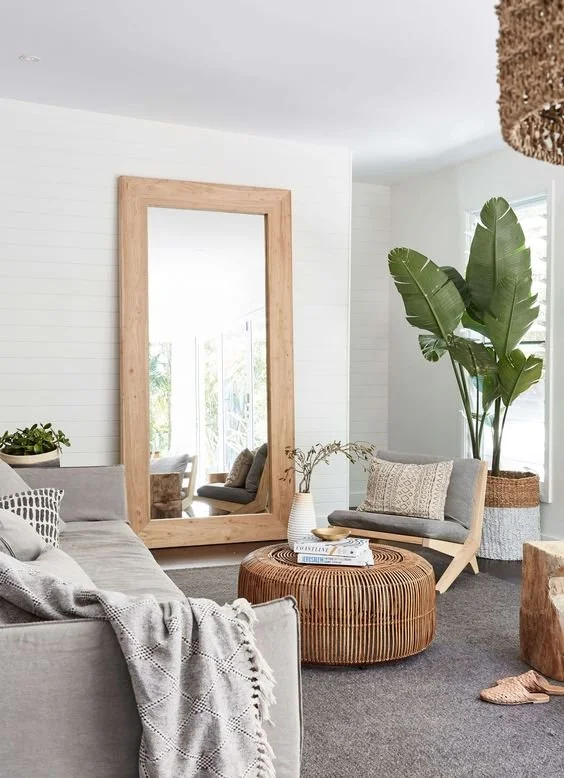
3. Add a mirror
Source: Studio McGee
Source: The Bower
A mirror is a failsafe option for bouncing some light around a room, as well as making a room look bigger. If your wall is opposite or next to a window then this is a particularly good choice.
Lean it against the wall for a casual laid back look, or mount it onto the wall.
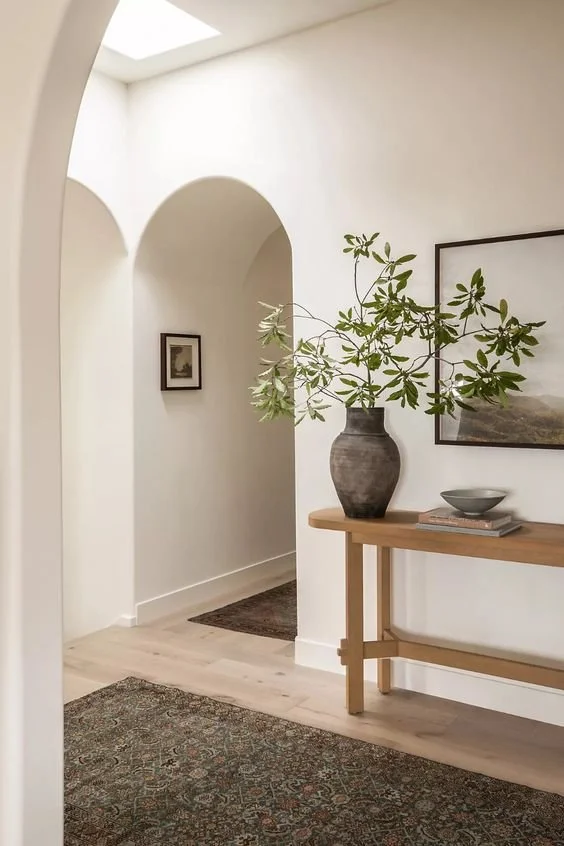
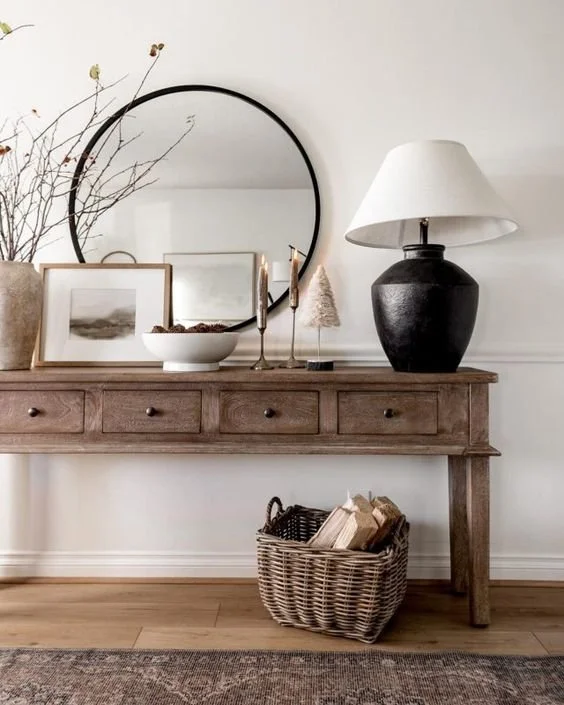
4. Style a console table
Source: Anthropologie
Source: Halfway Wholeistic
Console tables are good for more narrow spaces where you’d still like to add a focal point.
A winning combination is a console table with a large mirror or art above, plus a medium sized plant or lamp with some smaller decorative objects.
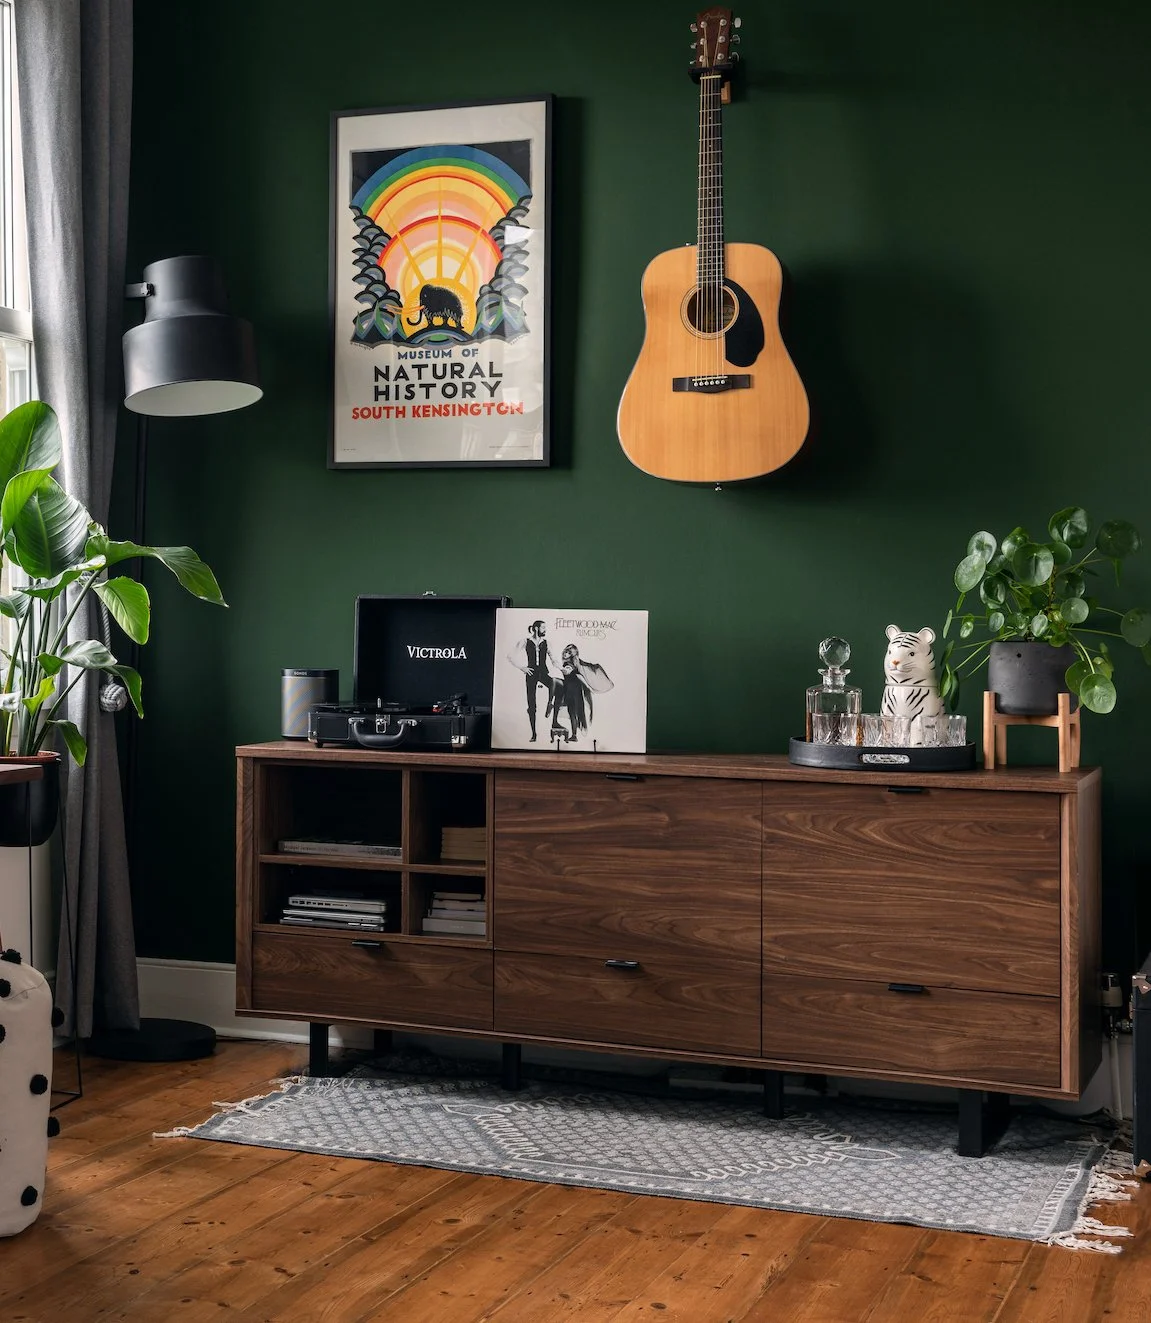
5. Use a sideboard
Source: Kate Wiltshire Design
Source: McGee & Co
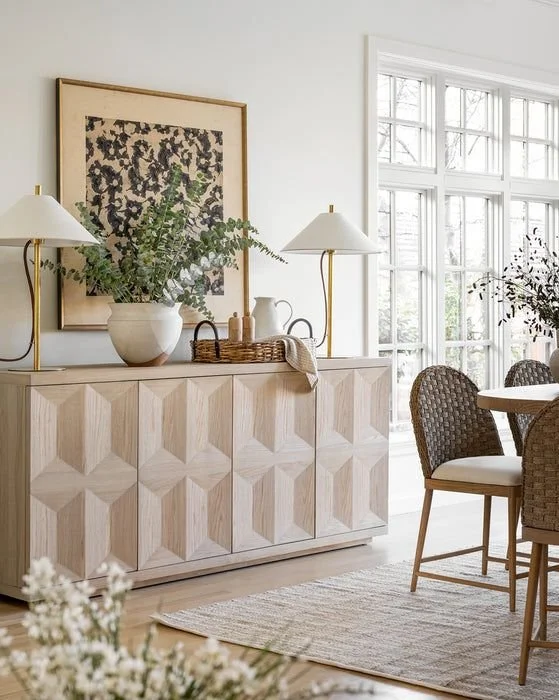
Similar to a console table, a sideboard is a good option when you have a little more space, as you’ll need room to be able to open the drawers or doors.
Style it in a similar way to the console table - with large art or a mirror above and some smaller decorative pieces on top. The bonus with a sideboard is that you’ll gain some storage as well as a focal point.
6. Install a shelving unit
Source: Fogia
Source: Craftberry Bush
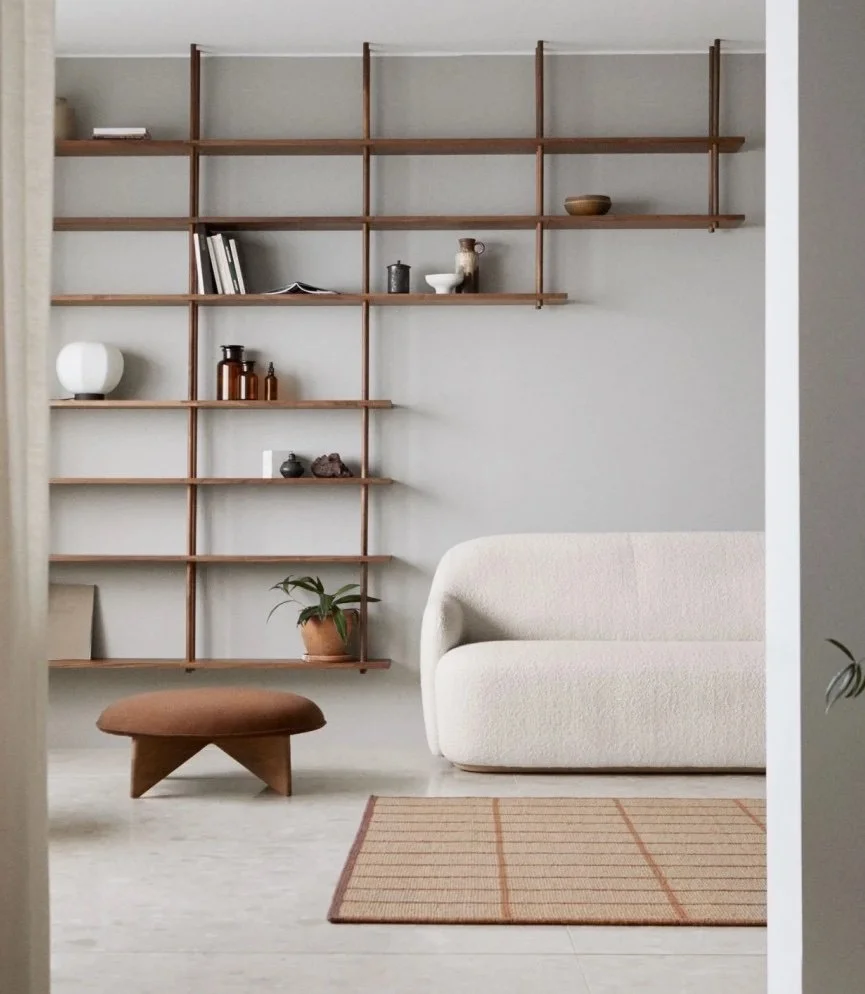
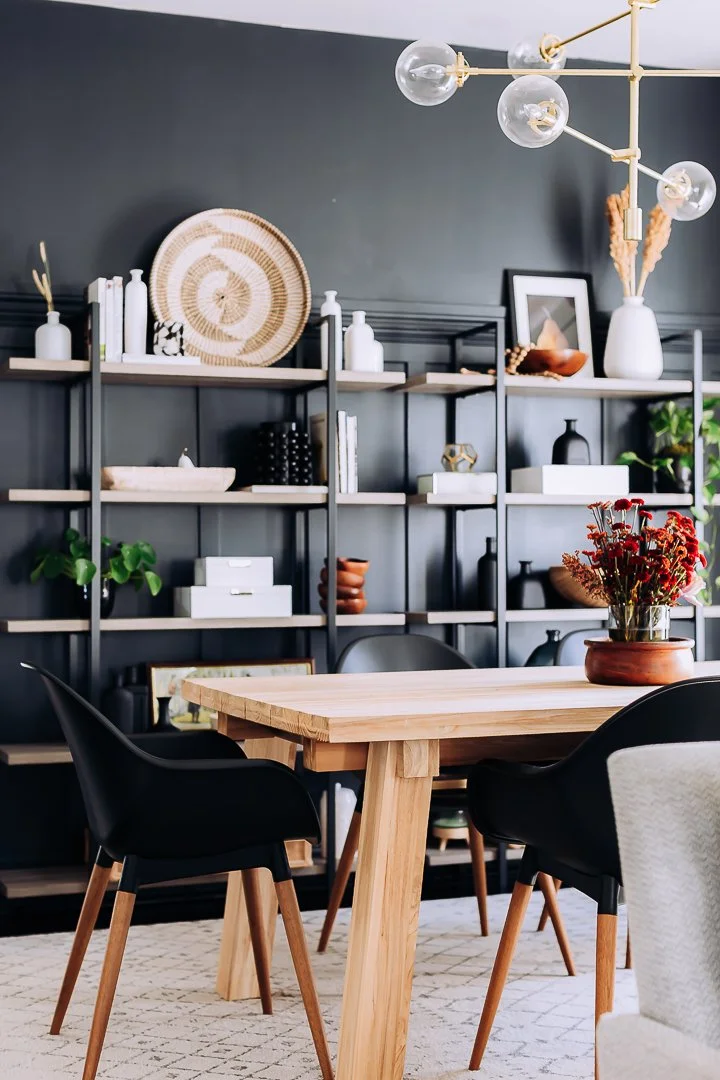
A shelving unit is a great choice if you like the look of decorative objects or books on display. Either fill it with books, storage and decorative bits (second example above), or leave it more empty for a minimalist look (first example).
For an extra streamlined look, a unit that can be attached to the walls (without legs) is a good option for if the room is on the smaller size.
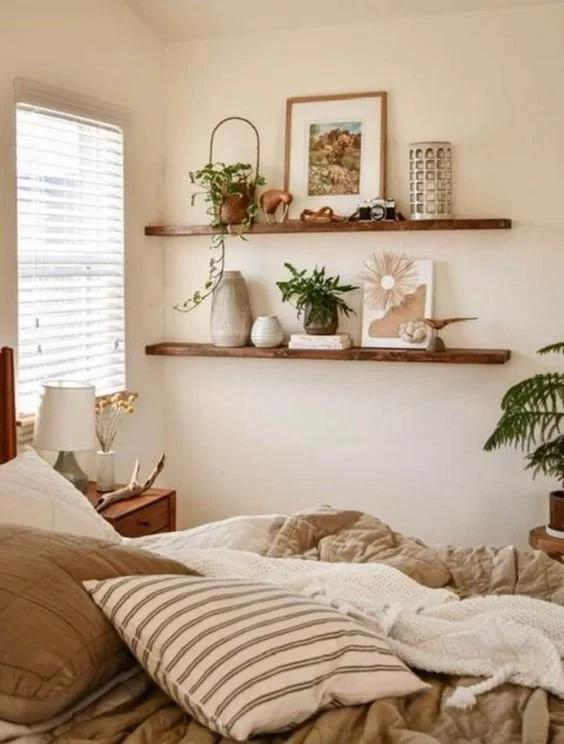
7. Hang floating shelves
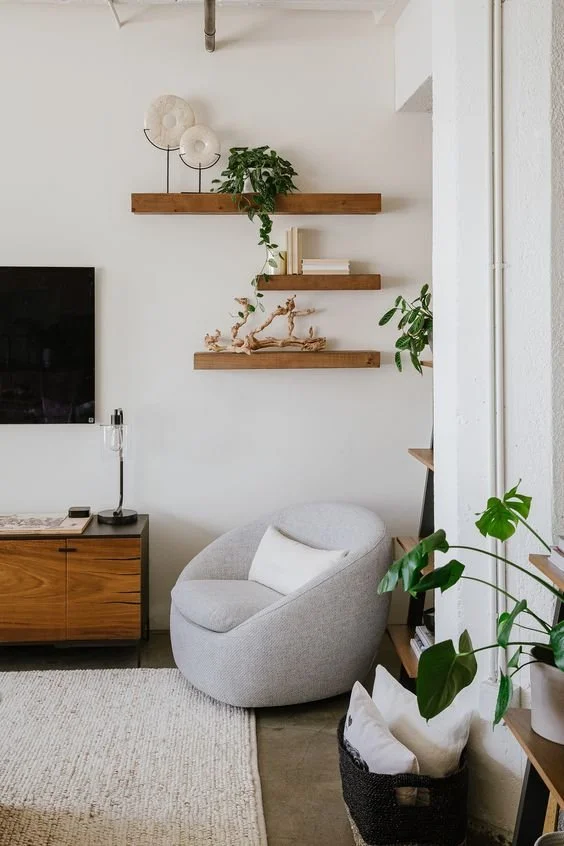
Floating shelves should be installed at around eye height, or if you’re hanging 2 or more then the vertical centre should be at eye height. Make sure you think about what you’re going to add to the shelves and space them apart accordingly.
If your wall is wider than it is tall, then consider hanging the shelves at different horizontal levels so that they take up more horizontal space.
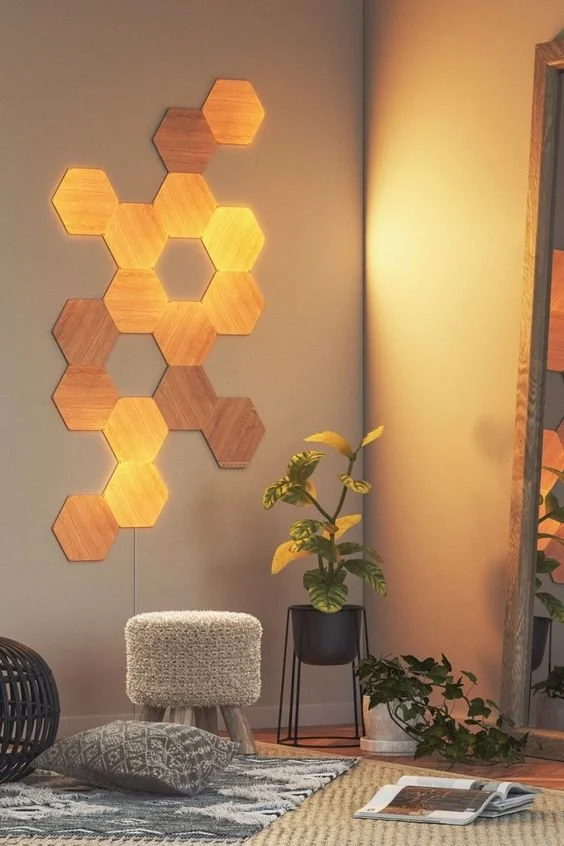
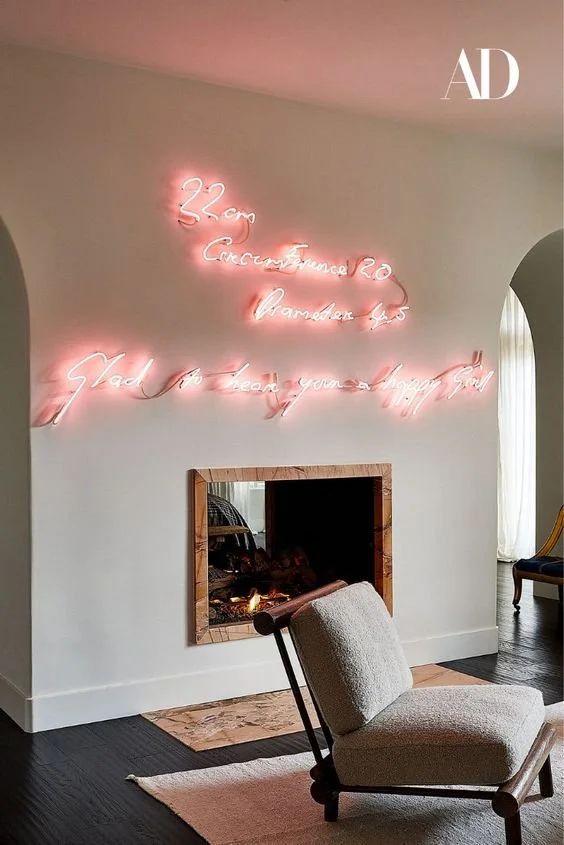
8. Add lighting
Source: Nanoleaf
Source: Architectural Digest
I came across Nanoleaf when a client suggested it for their office space - they are configurable panels which can be arranged in any shape and a variety of colours to fill your wall - so they are a light and a decorative feature in one.
Alternatively, take inspiration from Kendall Jenner (there’s a sentence I never thought I’d say on this blog) and add some personalised neon for a unique look - as seen in her home featured in Architectural Digest above.
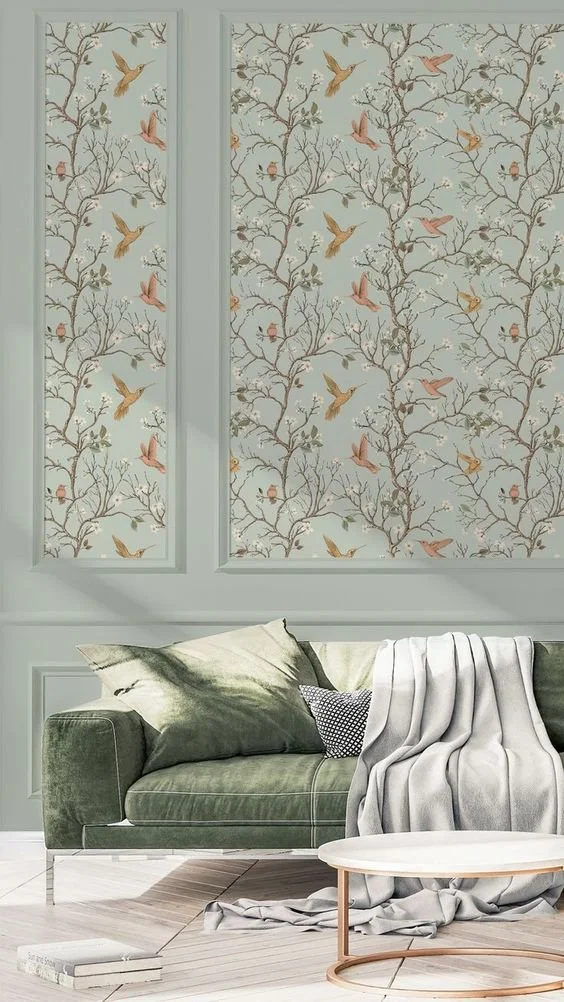
9. Add some wallpaper
Source: Etsy
Source: Bobbi Beck
A statement wallpaper is a great way of adding a feature and some interest to an otherwise boring wall. If the wallpaper is fabulous enough, there’s no need for additional furniture or art on the wall.
If you don’t fancy going over the entire wall, some inset wallpaper in panelling is another option - although see my first point about the panelling needing to suit the style of your home.
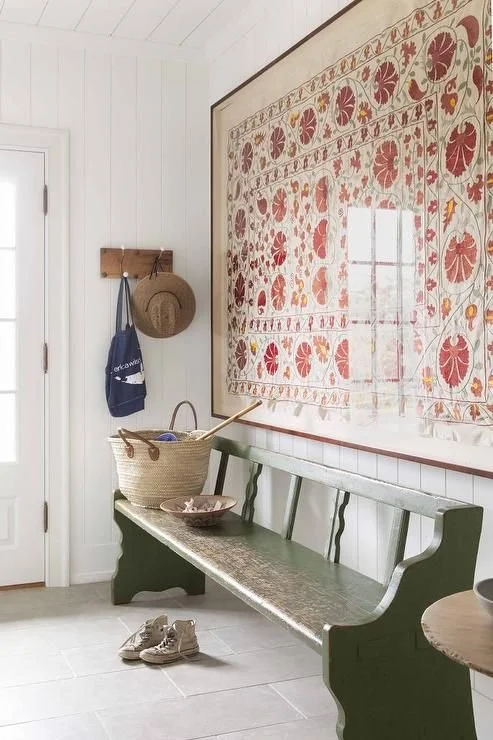
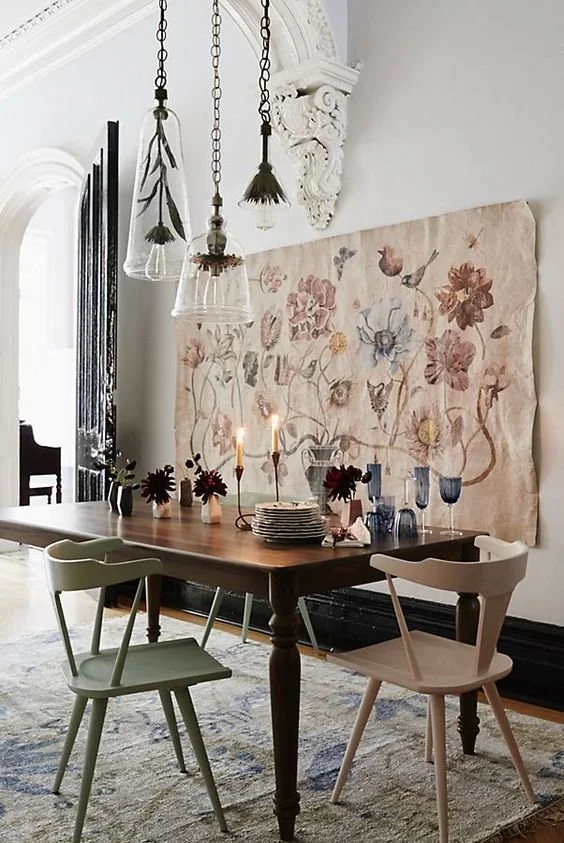
10. Hang a tapestry or blanket
Source: DecorPad
Source: Anthropologie
There is a way to do this without making it look like student accommodation. Hanging the material taught enough so that the fabric isn’t gaping anywhere is, in my opinion, a better look.
Or - you could even go one step further and frame some fabric to make a unique piece of art.
If you’d like my help with your next project, check out my services to see how we can work together. If you’ve enjoyed this blog, don’t forget to subscribe below to receive my new post in your inbox every Sunday.


