
Upgrading your home on a budget
It’s not always possible to start a room from scratch or justify the cost involved in a complete renovation. But that doesn’t mean you can’t freshen things up and bring some joy to your existing rooms without breaking the bank.
Here are 5 tips for upgrading your home without spending lots of money.
1. A fresh lick of paint
Sometimes just a change of colour can be what you need to change how you feel about a room, and all it takes is a day or so to get it done.
Changing the colour of a room can have a really big impact. You can choose colours which:
Make the room look bigger
Make a room look lighter
Create a mood (cosy, uplifting, comfy)
Add visual interest (feature walls)

Take the leap and go for a dramatic colour update.
2. Update your kitchen cabinets
Changing out the handles in your kitchen is such a great way of upgrading it without requiring much work at all or spending much money. You’d be surprised by how much of a difference it can make.
You could also take this a step further by painting your kitchen cabinets. It sounds like a daunting task but it’s actually really doable. I did this myself in our own kitchen last year, you can read my blog post about it, and it only took a weekend. You can completely transform your kitchen without having to pay the cost of installing a brand new one.

I painted the cabinets green and replaced the handles.

3. Installing moulding
If you’ve got a blank wall and you’re not sure what to do with it, adding some lovely subtle moulding can really elevate the space. And it’s really not that hard to do and it doesn’t cost the earth.
Measure out your wall and where you want your moulding to go, then get yourself to B&Q or Homebase where you can find a huge selection of decorative moulding. You can get them to cut the timber to size for you there. A quick search on YouTube brings up so many tutorials so you can follow along. Paint the same colour as your wall and voila.
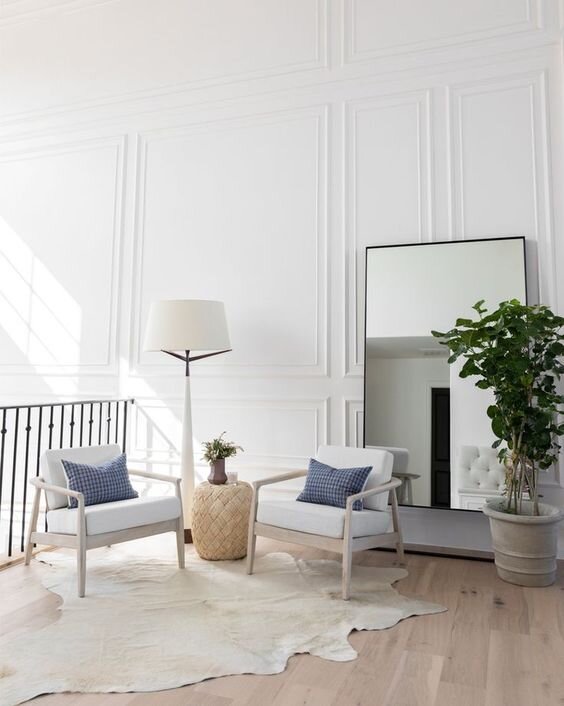
Stunning floor to ceiling moulding by Studio McGee.

Install moulding on the door! Tutorial and image by Style Squeeze.
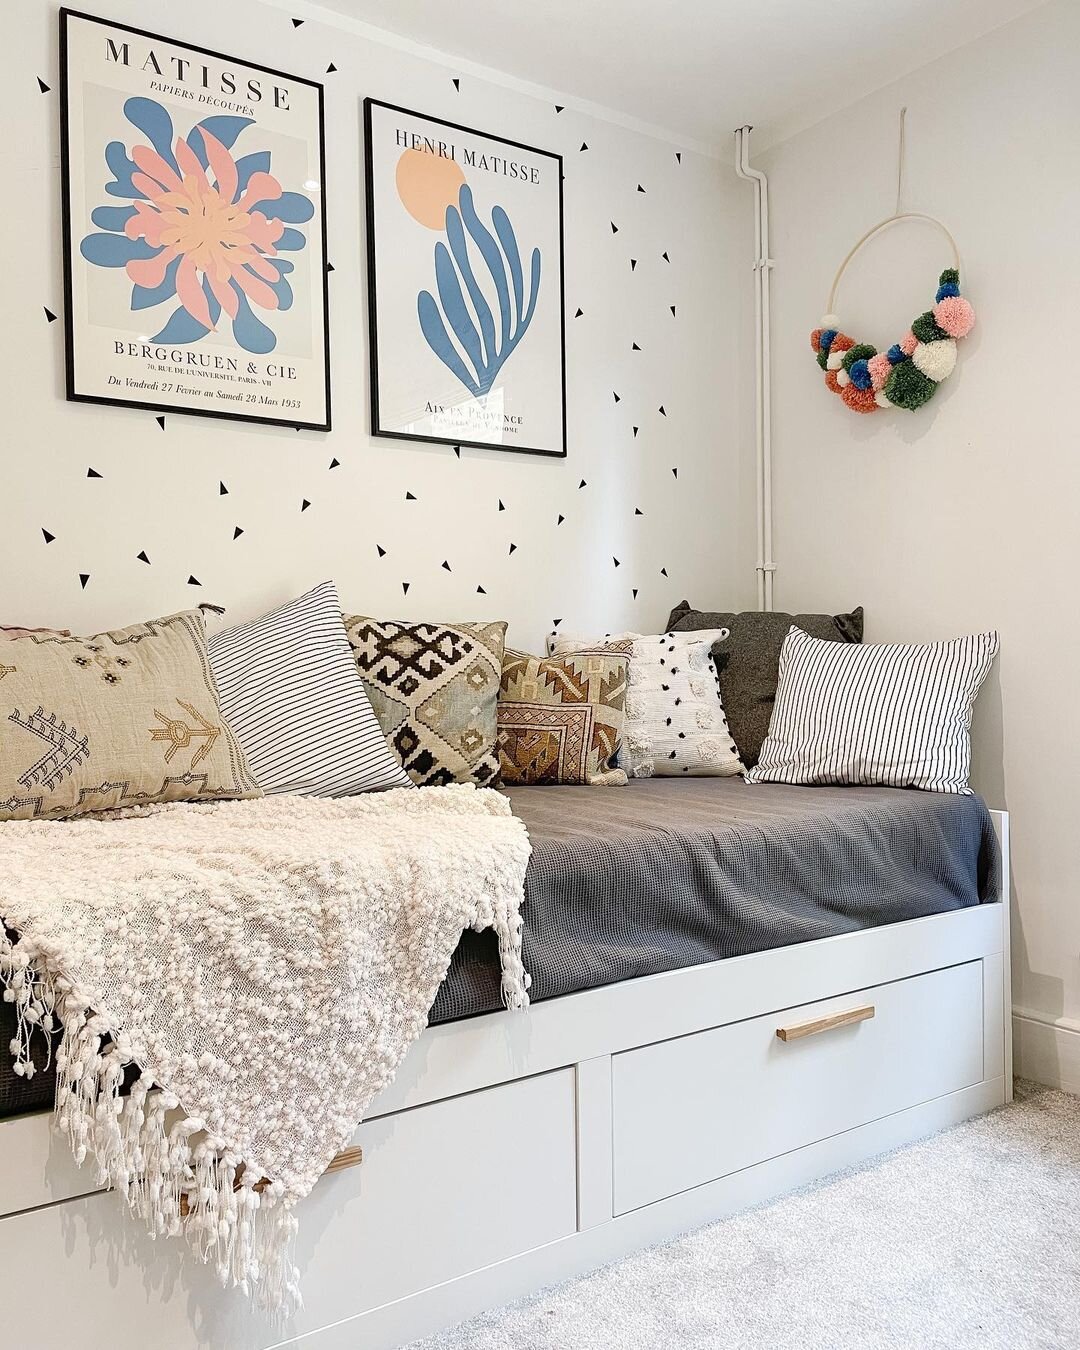
4. Gallery wall
I love a gallery wall so much. They make brilliant focal points, you can constantly switch your art around, and bring so much personality and interest to a room.
My two tips for installing a gallery wall would be:
Don’t go too small, you don’t want the wall to look like it’s floating and lost. Go big - floor to ceiling can look amazing.
Measure out the wall, recreate this size on the floor with masking tape. Then lay your prints down on the floor so you can get an idea of how they fit together and how you want them to hang on the wall. Take a photo and then recreate it when you add your prints to the wall.

Lisa Dawson’s amazing gallery wall - you can read about how she did it over on her blog.

Or if you prefer a grid style, you can follow RockMyStyle’s tutorial.
5. Stencilling and peel and stick wallpaper
Ok so this is really two in one but I had to include them both.
Stencilling is a really fun way to add a bit of visual interest to your home, especially if you’re into patterns. It can be a lot easier to do than hanging wallpaper, and you can even get away with just using a tester pot of paint, depending on the size of your stencil.
Stencilling isn’t just for walls - you could stencil your furniture, or even your floor.
The statement wall in this room was made using a stencil and a paint tester pot.
Peel and stick wallpaper is a really fun way to add a bit of visual interest and you can find so many different wallpapers on Etsy. And as a bonus - if you get bored of it in the future you can just peel it right off. Again it doesn’t need to be restricted to just the wall… you can be creative and apply it to fireplace surrounds, furniture, wardrobes and shelves.

Peel and stick wallpaper was used inside this wardrobe.
So there’s a couple of ideas for upgrading your home which shouldn’t cost the earth. If you try any of these I’d love to see, so make sure you tag me on Instagram!
If you’d like my help with your next project, check out my services to see how we can work together.